Pages

Monday, May 31, 2010

Knitting Rabbit


Here is the silk yarn dyed up but knitted up using size 6 us needles in Ironbark. It's the same yarn as Nadine's creature.

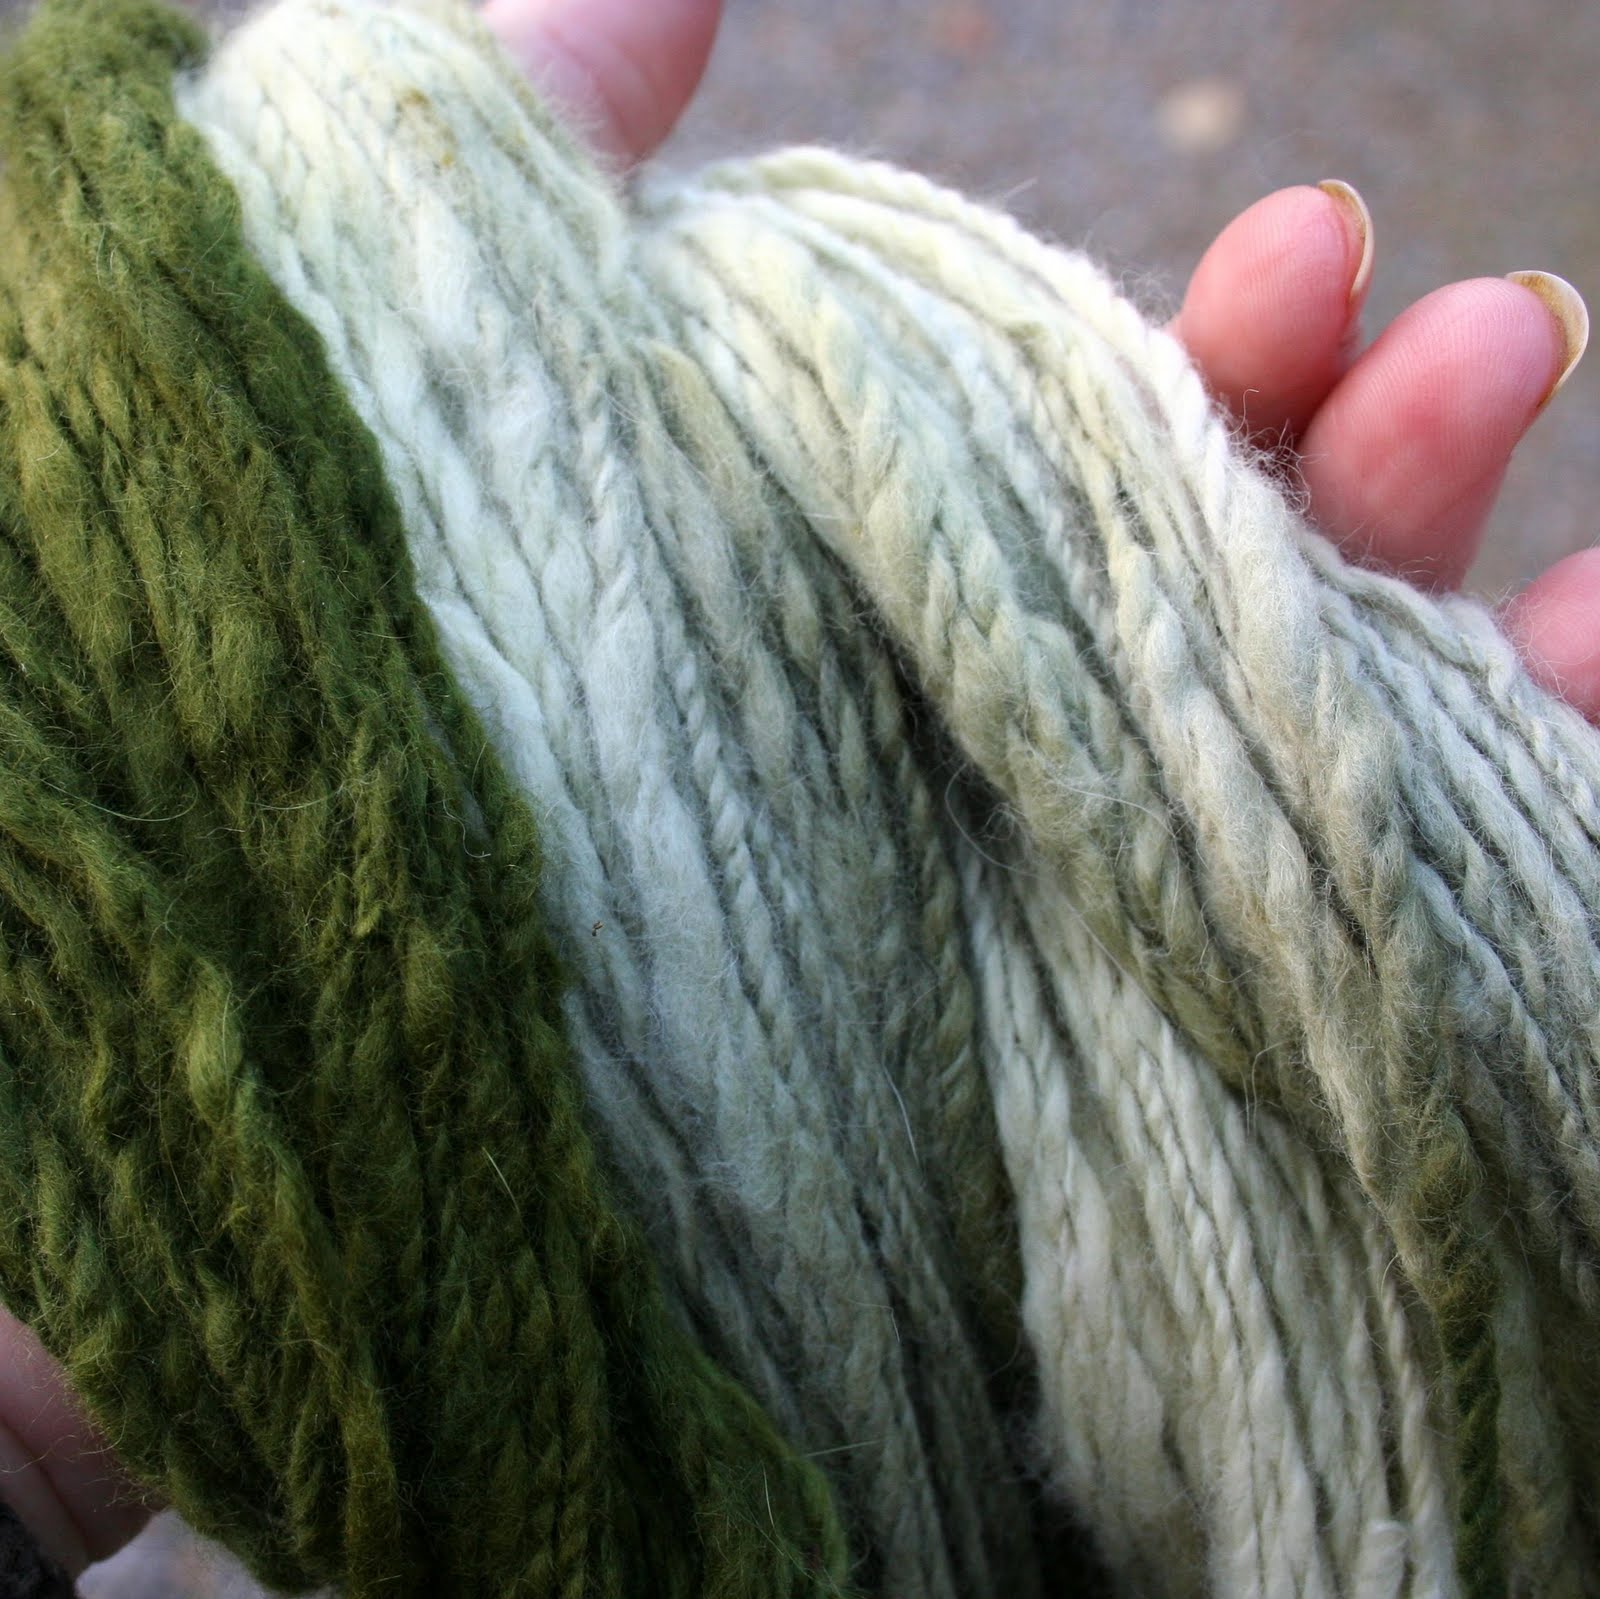
Braved the cold and dyed the angora rabbit yarn in the shed yesterday. I couldn't tell though how it would knit up so I had to actually find needles, pull my sleeves up and get to. ( I don't knit so don't look too closely) I love how soft this is without being overly fluffy. Fluffy just gets up your nose. Though, my postmistress says to put fluffy yarn in the freezer before knitting!

Thursday, May 27, 2010

The Dye Queen is in her parlour, counting her dye.

The phantom husband is away working again. This is a pic to protect his secret identity! So my point is, someone has stepped in to let me know when I am being silly, foolish or disorganized. There is always some one looking out for you.
Here is my helper- you have met her before. Rudely referred to by some as The Pink P- nevermind.

This is the dye queen quality checking Dale's Kimberly Dreaming colour....

This is the queen hoping that I choke on a bone....


And may I trip while going down the stairs.....
So I've decided not to consult her on Rae and my new colourway Wintergreen.


I've decided that these bunch look better in my stash than her shop.

Rae's homework, i love watching others work.

Colour with Camera

My hand spun angora rabbit yarn arrived from China today! I can't wait to dye it. I'm not putting a pic up yet, but to wet your appetite, here's Uki, Belle's pet rabbit. How do you think she'd look blue?


This weird creature will lie on her back and drift off when Belle nurses her.

And why do people, whenever you mention you have a pet rabbit, offer up their best rabbit recipes? No one ever offers 'Mum's Secret Pot Roast' Recipe for dog do they?
And then....


Took photos of Rae's yarns today. I had noooo idea she had so many types. So one down, 5 zillion to go.

Tuesday, May 25, 2010

Felt Ball Necklace Instructions.


Just thought I would pop up the destruction's for this necklace. Enjoy!
  1. Set up your work area by placing a sheet of bubble wrap bubble side up on a table covered with a towel. Fill a bowl with warm water and have a cake of soap at the ready. There is enough fleece in this kit for you to make one large ball or two small balls and one larger. The fleece will shrink so the balls you form should be larger than you wish them to end up. Divide the fleece accordingly. (3 grams of fleece for one large ball)
  2. Lay the merino down on the table and firmly roll up, slightly rotating the bundle as you go, bringing corners or kinks into the ball as you go. It’s important to spread and pick at the fleece as it is wound up to avoid any corners from forming.
  3. Once formed, immerse the ball into the warm water, squeezing slightly and gently. Bring it out and rub over with the cake of soap. Cupping the ball in the palm of your hand very lightly roll it around within your hands as you would biscuit batter. Don’t apply pressure at this stage, just roll it. The fibres should not fluff up but if the do, apply more soap and water and continue for a couple of minutes.
  4. Check for any fold lines and pick out small tufts of fleece, stretching the over to hide these ‘crack’ lines and continue rolling in your hands.
  5. Immerse in water again and squeeze gently, apply more soap and start rolling in your hands more firmly. Change your water to hot again, heat helps the fibres to felt and shrink.
  6. Immerse, and continue rolling. You can expect each ball to shrink down by about 30%. It is supposed to. As it does, it becomes quite firm to touch and will bounce when dropped. When forming balls I want to be the same size, I form them at first then roll them in my hands together. Then I roll them with one hand onto the bubble wrap so they eventually become the same size. I have found I can comfortably do four at a time.
  7. Put your ball/ balls into a lidded jar or bottle with a little hot water, screw the lid on firmly and shake the jar, another good way of forming several balls at the same time and firming them up.
  8. When the ball has shrunk to a size you are happy with, and feels firm to touch. Leave it to dry out.
  9. Decorate the ball/ balls as you wish. I like to sew beads onto the surface, do random cross stitches or wrap with wire. Skewer the ball onto the hat pin, if using beads, place them onto the pin either side of the ball.

Friday, May 21, 2010

Felt samples in red


I love red. It's true..... so given a minute to play with stuff, it will be in red. The only problem at the moment is time is soooo short, I can only add to my stash of samples. I am dyeing (sorry for the pun) to make a poncho or wrap to wear but until I can get organized this is the best I can do. I tried Dale's idea of dry felting she learnt in a recent workshop (sorry, don't remember who with) but found it weird. So I added water.

Thursday, May 20, 2010

Update on the cat and washing line.


A petticoat in Peacock dye bath.

Kimberly Dreaming for Dale at The Thread Studio.

A nylon cami, I love how the crease lines dye up.

Not a bad looking wash.

Peacock on the line, merino and slushie.


A woven woolen scarf from Scotland I found in the op shop. Used it to soak up excess dye.

Not soooo pink, and speaking to me again.

Tuesday, May 18, 2010

French Inspiration


I found this blog (Frenchblue) while I was supposedly working! Lots of beautiful photos of everything I love. The lady also has an online shop which you can visit here. I have borrowed images from her website to show just a bit of the gorgeousness. Anyone who has done a workshop with me will remember my mantra of filling your head with beautiful images and waiting to see what comes of it. If you don't take notice of the world around, you will be an empty vessel when finally you have time to yourself for creating. And I don't mean copying an image you like, I mean taking something away from it- whatever attracted you in the first place, colour, texture, line, object, tone, pattern- and translating that into your work.

Today my camera broke so no pics from me until fixed however I finally managed to overcome my fear of technology and bought a camcorder. I will now be able to video techniques for the blog and tape the kids- when being horrible- to post on youtube. That will learn them.......