


Just thought I would pop up the destruction's for this necklace. Enjoy!
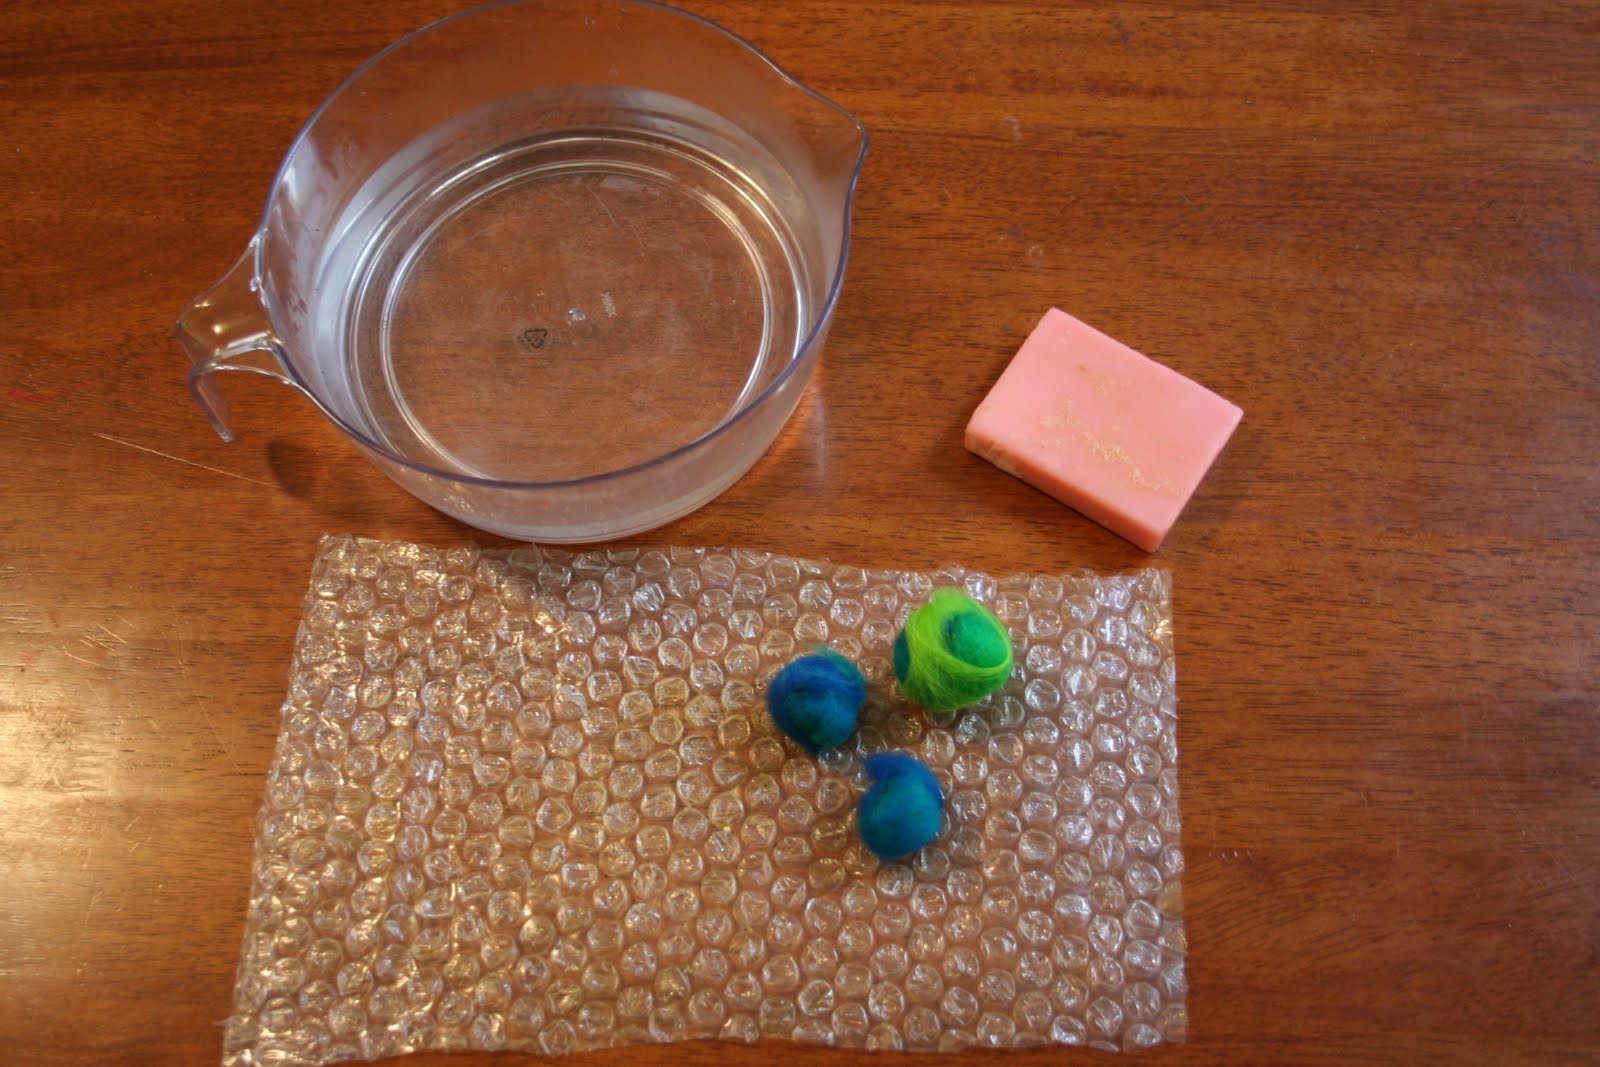
- Set up your work area by placing a sheet of bubble wrap bubble side up on a table covered with a towel. Fill a bowl with warm water and have a cake of soap at the ready. There is enough fleece in this kit for you to make one large ball or two small balls and one larger. The fleece will shrink so the balls you form should be larger than you wish them to end up. Divide the fleece accordingly. (3 grams of fleece for one large ball)
- Lay the merino down on the table and firmly roll up, slightly rotating the bundle as you go, bringing corners or kinks into the ball as you go. It’s important to spread and pick at the fleece as it is wound up to avoid any corners from forming.
- Once formed, immerse the ball into the warm water, squeezing slightly and gently. Bring it out and rub over with the cake of soap. Cupping the ball in the palm of your hand very lightly roll it around within your hands as you would biscuit batter. Don’t apply pressure at this stage, just roll it. The fibres should not fluff up but if the do, apply more soap and water and continue for a couple of minutes.
- Check for any fold lines and pick out small tufts of fleece, stretching the over to hide these ‘crack’ lines and continue rolling in your hands.
- Immerse in water again and squeeze gently, apply more soap and start rolling in your hands more firmly. Change your water to hot again, heat helps the fibres to felt and shrink.
- Immerse, and continue rolling. You can expect each ball to shrink down by about 30%. It is supposed to. As it does, it becomes quite firm to touch and will bounce when dropped. When forming balls I want to be the same size, I form them at first then roll them in my hands together. Then I roll them with one hand onto the bubble wrap so they eventually become the same size. I have found I can comfortably do four at a time.
- Put your ball/ balls into a lidded jar or bottle with a little hot water, screw the lid on firmly and shake the jar, another good way of forming several balls at the same time and firming them up.
- When the ball has shrunk to a size you are happy with, and feels firm to touch. Leave it to dry out.
- Decorate the ball/ balls as you wish. I like to sew beads onto the surface, do random cross stitches or wrap with wire. Skewer the ball onto the hat pin, if using beads, place them onto the pin either side of the ball.
what do we do when we get to 10?
ReplyDeleteWhat a great tutorial again Jacinta, thanks every so much. Your blog is a delight to visit. I love your photos and your explanations. I've not done felting of any kind, but I can see that is about to change.
ReplyDelete